This step-by-step tutorial was created for the Ubuntu 10.04 LTS (Lucid Lynx) operating system and it will teach you how to change the looks of your Linux desktop into an eye-candy, practical, simple and modern one. In other words, to pimp your desktop and change its looks:
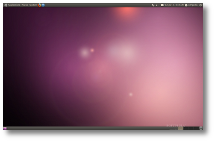 | 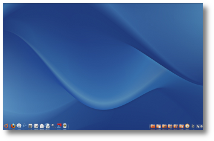 |
| from this | to this |
Things you need to get started:
1. Ubuntu 10.04 LTS (Lucid Lynx) operating system (Desktop Edition);
2. AWN (Avant Window Navigator);
3. A nice wallpaper.
Step 1 - Installing AWN
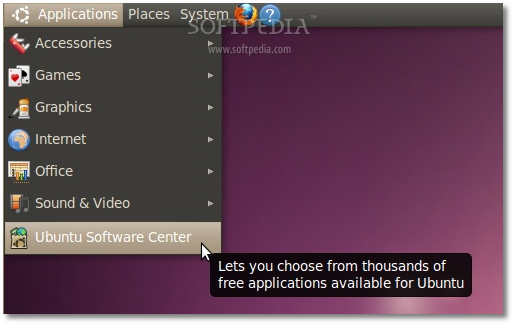
Let's get started, shall we? First of all you need to install Avant Window Navigator, therefore you should use Ubuntu Software Center (Application -> Ubuntu Software Center) to search for AWN...
 |
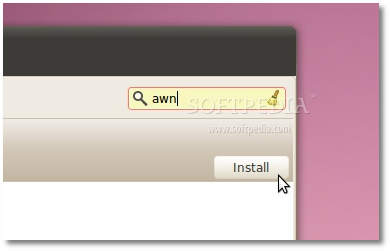 |
Avant Window Navigator will be the first entry in the search results. Just click the "Install" button to install it.
Note: Your password will be required for the installation!
Wait for the installation process to finish and close Ubuntu Software Center.
Step 2 - Cleaning the desktop
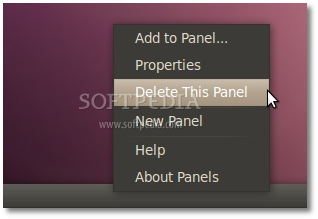
Right click on the bottom panel and select the "Delete This Panel" option...
 |
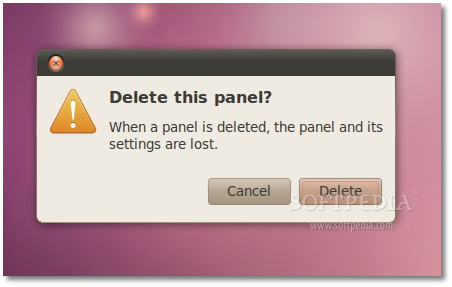
A warning window will appear. Just click on the "Delete" button...
 |
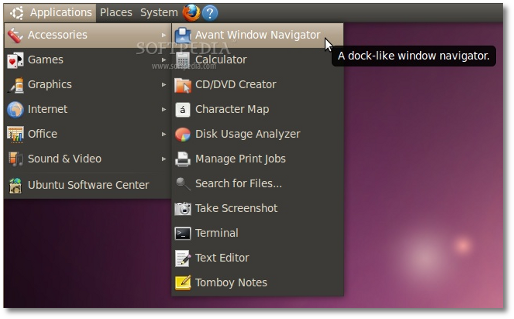
And now, let's replace it with Avant Window Navigator. Open it from Applications -> Accessories -> Avant Window Navigator...
 |
You will immediately see the dock at the bottom. But for now, only two icons will appear and it looks ugly. See the next step for the AWN configuration.
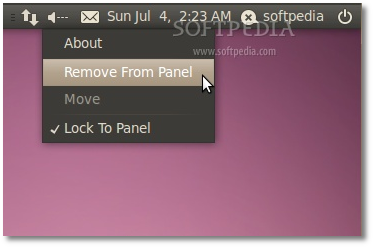
Now, remove everything from the right side of the upper panel (simply right click on each item and choose the "Remove From Panel" option, until they are all gone...
 |
At this moment your desktop should look like this...
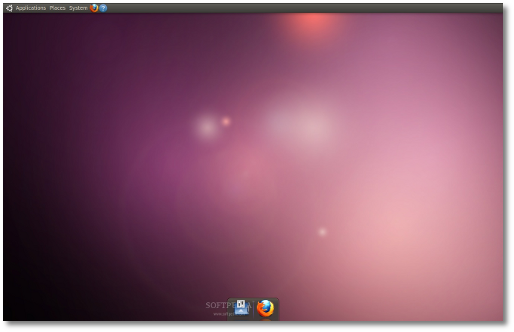 |
Step 3 - Configure Avant Window Navigator
Right click in a corner of the AWN dock and choose the "Dock Preferences" option...
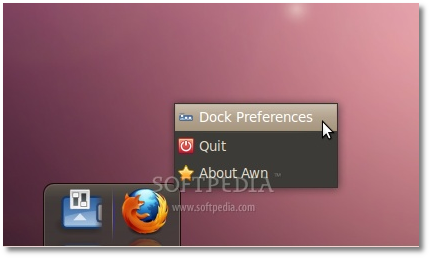 |
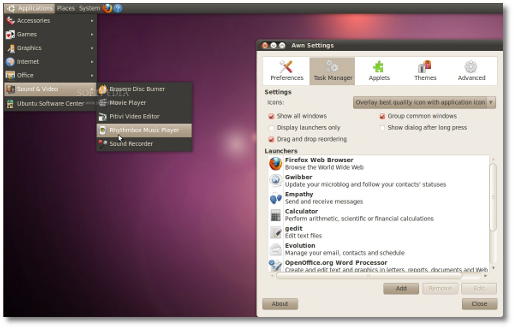
This is the most important part of the guide! Make sure you set AWN's options exactly like in the screenshots below...
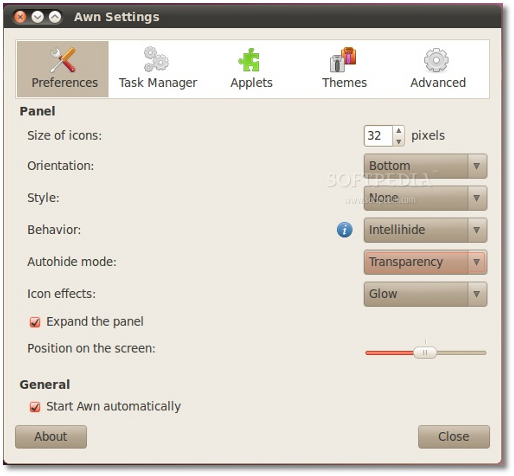 |
When you'll check the "Start Awn automatically" option, you will be asked if you want to let AWN create an autostart directory. Just click "Yes"...
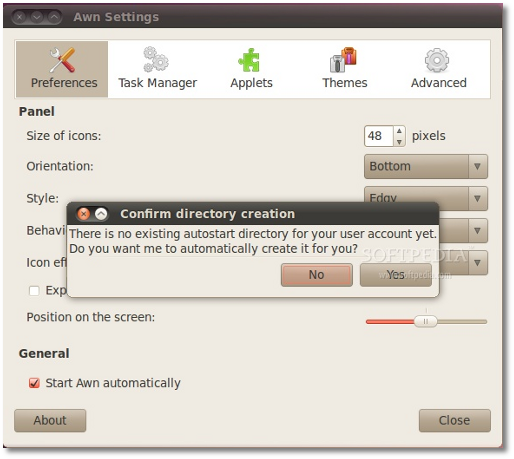 |
In "Task Manager" tab you just need to drag the shortcuts of your favorite applications from the original Ubuntu menu to the "Launchers" box of AWN. The items can be rearranged with drag and drop...
 |
In the last screenshot, the applets included are:
· Cairo Main Menu
· Separator
· Launcher/Taskmanager (included by default)
· Separator
· Expander
· Separator
· File Browser Launcher
· Cairo Clock
· Weather Applet
· Notification Area
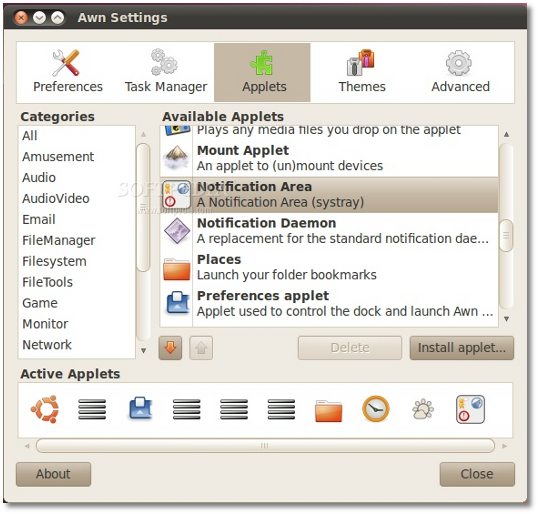 |
Make sure you put them in the exact order listed above! Do not miss any of them or your dock will look different from ours. Close the preferences window when you're done.
Step 4 - Final touches
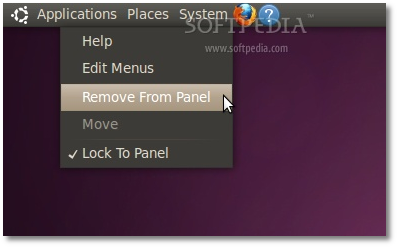
Now, remove everything from the upper panel (simply right click on each item and choose the "Remove From Panel" option, until they are all gone...
 |
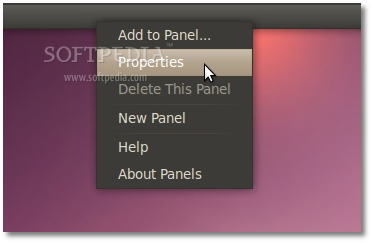
In order to make the panel disappear, right click on it and select "Properties"...
 |
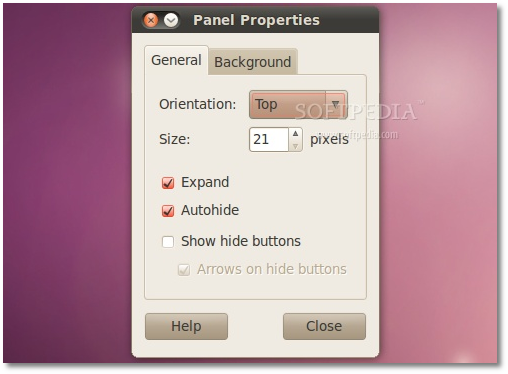
On the "General" tab, check the "Autohide" option and set the Size to 21...
 |
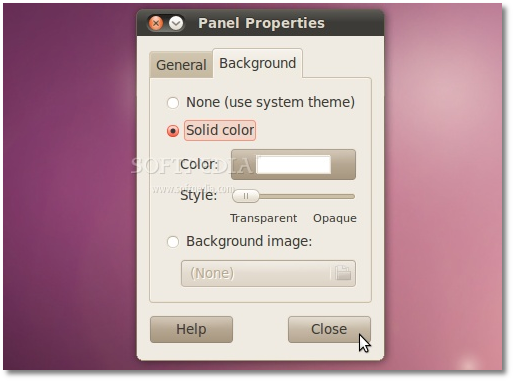
On the "Background" tab select the "Solid color" option and drag the Style slide to "Transparent"...
 |
Click the "Close" button and the panel will disappear!
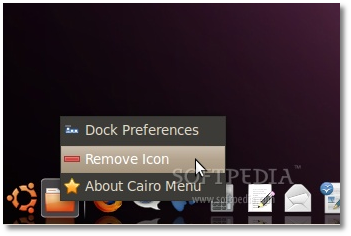
Remove the Places icon from the Cairo Main Menu applet by right clicking on it...
 |
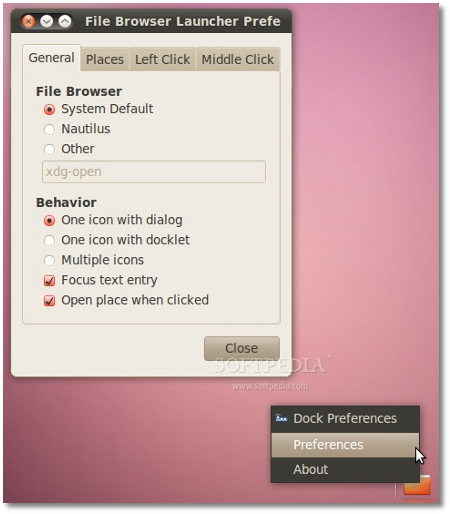
Right click on the File Browser Launcher applet (the folder on the right, in front of the clock) and select the "Preferences" option. Set the "Behavior" to "Multiple icons"...
 |
...and uncheck what you don't want to see on your dock, from the "Places" tab...
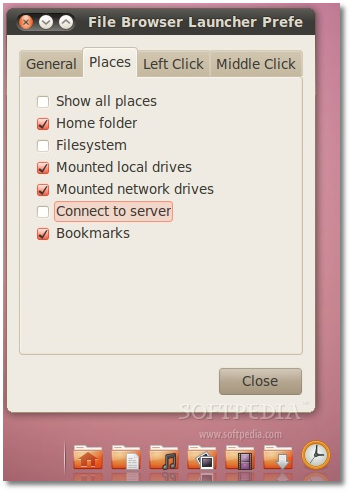 |
Right click on the Notification Area applet and set the options you see in the next screenshot (Number of icon rows is 1, Extra offset is 2 and Icon size is 72%)...
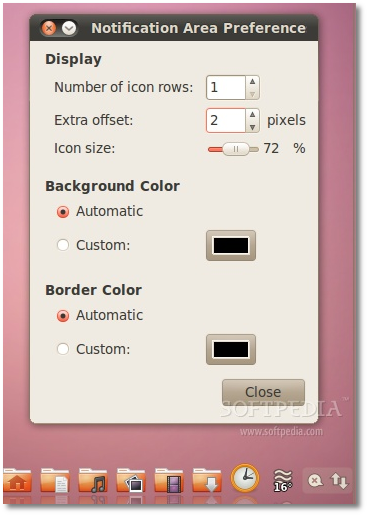 |
Choose a nice wallpaper by right clicking on the desktop and selecting the "Change Desktop Background" option, and here is your revamped Ubuntu 10.04 LTS (Lucid Lynx) desktop!
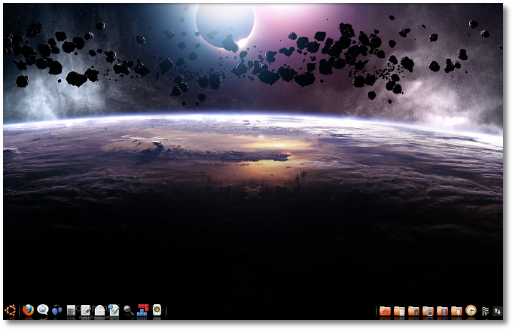 |
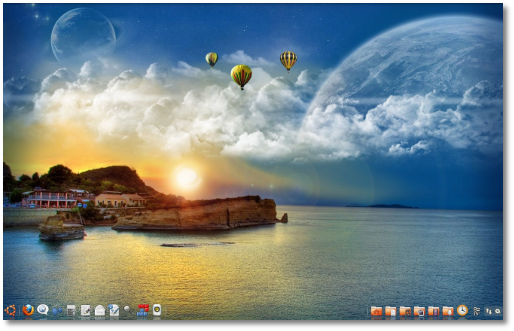 |
Don't forget to drop a link with your own screenshots!
source : news.softpedia.com

No comments:
Post a Comment